
How To Setup A Wireless Bridge
What Is A Wireless Bridge?
In networking, a bridge is, as simply as possible, a physical device that is used to connect two LANs together. For example, all the devices on your home network such as your phone, printer, router, and the like are what make up your homes LAN. By using a bridge, you would be able to connect your LAN to your neighbors LAN, allowing you access their printer, router home page, transfer files, and much more without the need to connect to the internet. This is done by connecting your homes LAN (LAN A) to that of your neighbor (LAN B) via a bridge. The downside to this is the need to have LAN A and LAN B fairly close together for this to be possible.
A wireless bridge allows all the above while at a much greater range by using two antennas to bridge the connection. This allows for connections of 15-50+ miles away, terrain permitting. While many brands exist, I personally recommend getting something from Ubiquiti as they allow for near complete control over the device and are really good at keeping their older devices up to date.
What You’ll Need
Preparing The Antennas
To start, you’ll want to decide on which antenna you want to be the station, and which will be the access point. The station, or client, will act as the device that tries to connect to the access point. For example, you can view the station antenna as if it were a cell phone, printer, or other device trying to connect to a router, or in this case, the access point antenna. With older Ubiquiti devices you’ll need to connect directly to it via Ethernet, but the newer ones will turn on a management radio signal that you can connect to instead. Once connected, type its IP address into your web browser to access the management page and use the default login information.
The first settings you’ll need to change are under the Wireless tab. On the antenna you’ve decided is the access point, turn on Access Point, turn on PTP Mode, assign a SSID, and assign a WPA2 password.

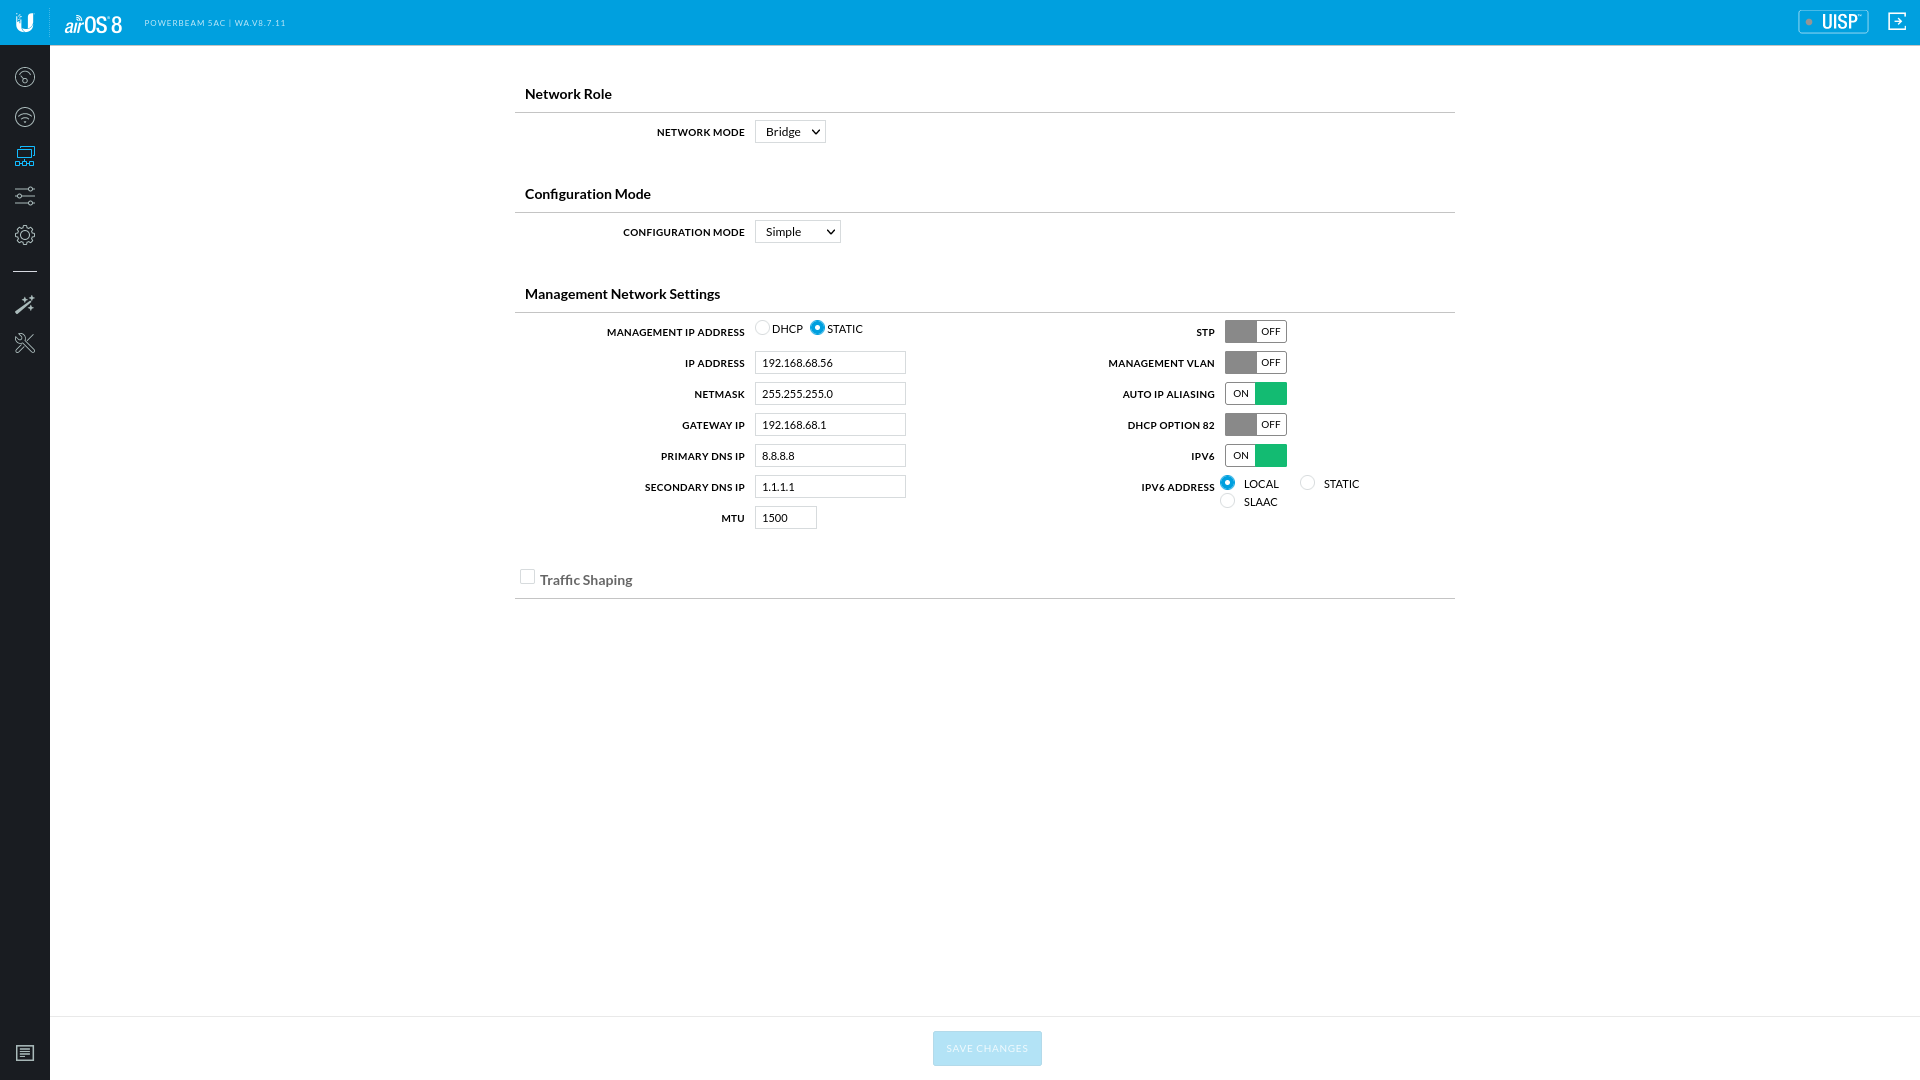
Next, under the Network tab, set the Network Mode to bridge. Under the Management Network Settings section, feel free to set Management IP Address to DHCP if you want to let your router to handle assigning it an IP address. If you want to manage the IP address yourself, set Management IP Address to static and fill out the information for the IP Address, Netmask, Gateway IP, and DNS IP.
Over on the station antenna, head over to the Wireless tab and turn off Access Point and turn on PTP Mode. For the SSID, either type in the SSID you made for the first antenna or press the Search button and select it from the list. The WPA2 password will also be the same as the one you made earlier.
On the Network tab, once again set the Network Mode to bridge. If you chose to set Management IP Address to DHCP then you are good to go. Otherwise, if you decided to set Management IP Address to static, fill out Netmask, Gateway IP, and DNS IP the same as before and give it a unique IP Address.
For mounting purposes, Ubiquiti provides an easy-to-use web application that will help you decide on the angle, height, and even what antennas you need for a good bridge connection. To my knowledge, the only things it doesn’t account for is trees and buildings so keep that in mind when deciding on the height and angle of the antenna. With a suitable location picked out it’s as simple as using the provided hardware to secure the antennas outside and running an Ethernet cable inside.

Configuration Options
Ubiquiti offers a lot of control over what you can and can’t configure on their antennas and can seem a little intimidating at first glance. While most of these settings can be left alone, there are a few that I would recommend changing or at least knowing about.
Device Name - Having a unique Device Name for each antenna makes it easier to tell them apart in case you need to readjust something later on.
Password - Having a secure password is essential to keeping your devices safe. I highly recommend changing the default password for something more secure.
Output Power/Distance - Can help save energy by not sending the bridge signal further than is needed.
Final Notes
With everything configured properly, your antennas should be connected and communicating with each other. In order to get the best signal possible, try to keep the airspace clear between the antennas. While not touched upon in this guide, the Dashboard tab has plenty of interesting information for you to look at so be sure to give it a glance when you have the chance.